
How to create the Quiz?
Tool available only for system administrators
Creating quizzes and adding questions to them is a crucial part of building engaging educational courses. In this article, we'll guide you step-by-step on how, as an administrator, you can create a quiz, add a question pack, and meet the requirements for publishing and sharing the quiz with users.
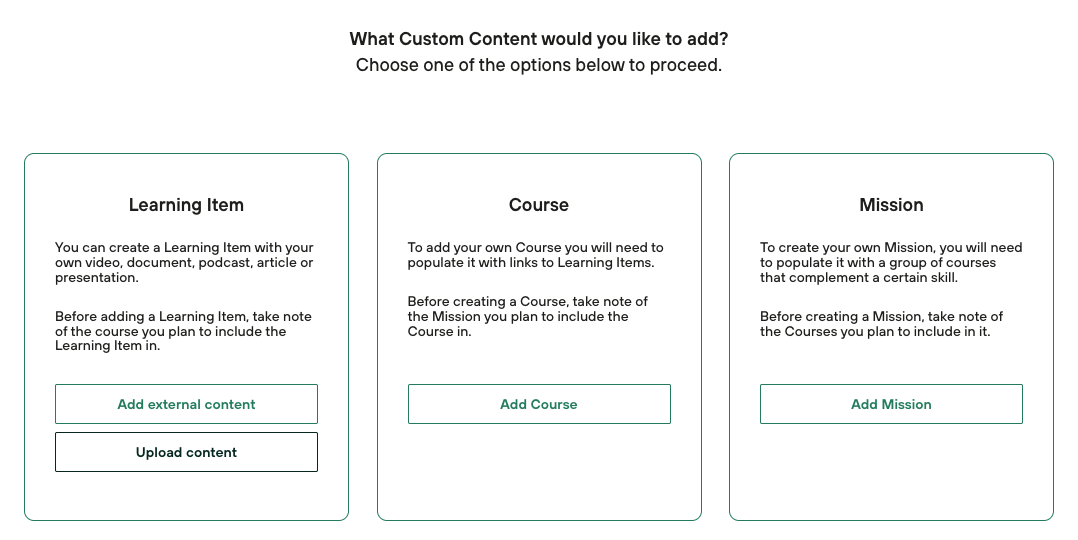
Step 1: Creating Custom Content
To create a quiz, you first need to create the appropriate content. As an administrator with access to the admin panel, follow these steps:
Go to Admin → Content → Add Custom Content

Step 2: Adding a Learning Item, Course, and Mission
Content can be added at different levels, depending on the course structure:
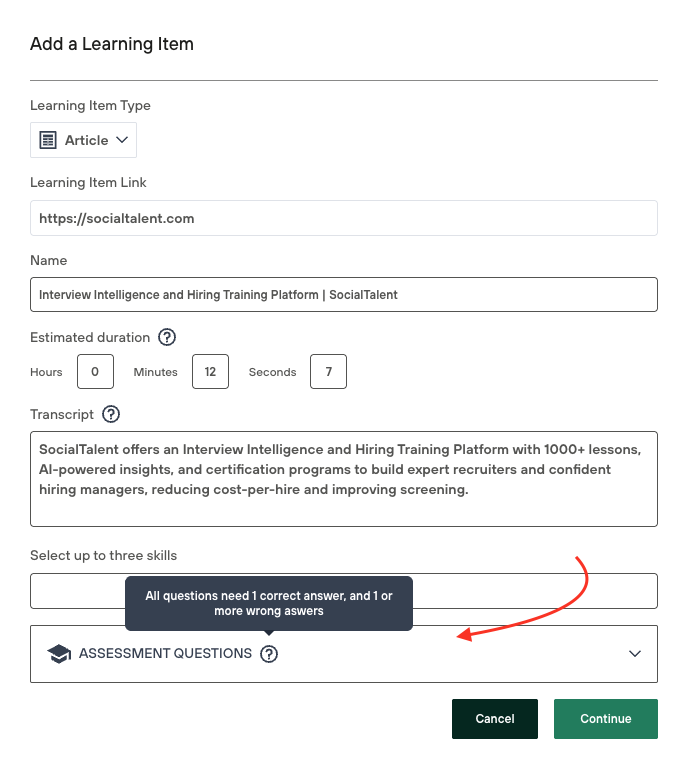
Add a Learning Item – First, add a Learning Item, which is the basic educational unit. Each Learning Item should be linked to a course, and the course should be linked to a mission.
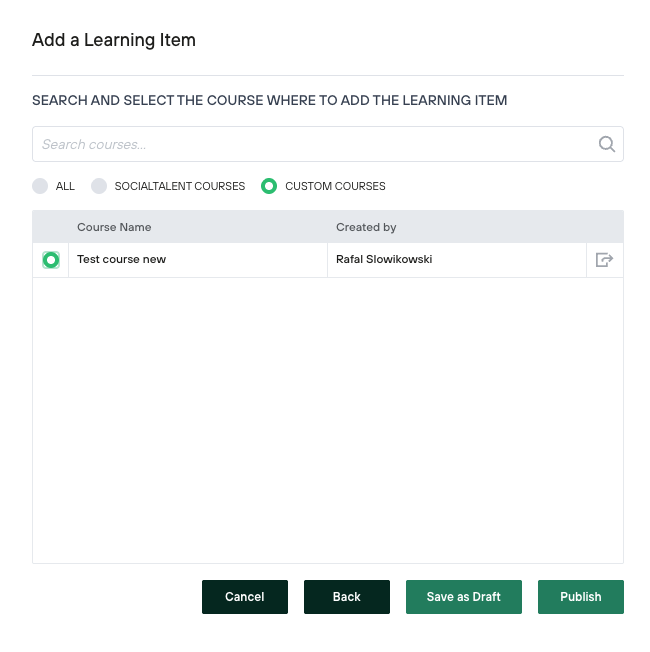
Link the Learning Item to a Course – Make sure that the created Learning Item is added to the appropriate course.
Link the Course to a Mission – Next, the course must be assigned to the appropriate mission, which in turn should be part of a learning path.
Link the Mission to the Learning Path - The custom mission needs to be linked with a learning path to see it on the Explore page. Without that, users will not be able to search for the mission.
Step 3: Adding a Question Pack to the Learning Item
Once your Learning Item is ready, you can proceed to add a question pack:
Go to the Assessment Questions Section – In the Learning Item's editing page, you'll find the "Assessment Questions" section at the bottom of the page.
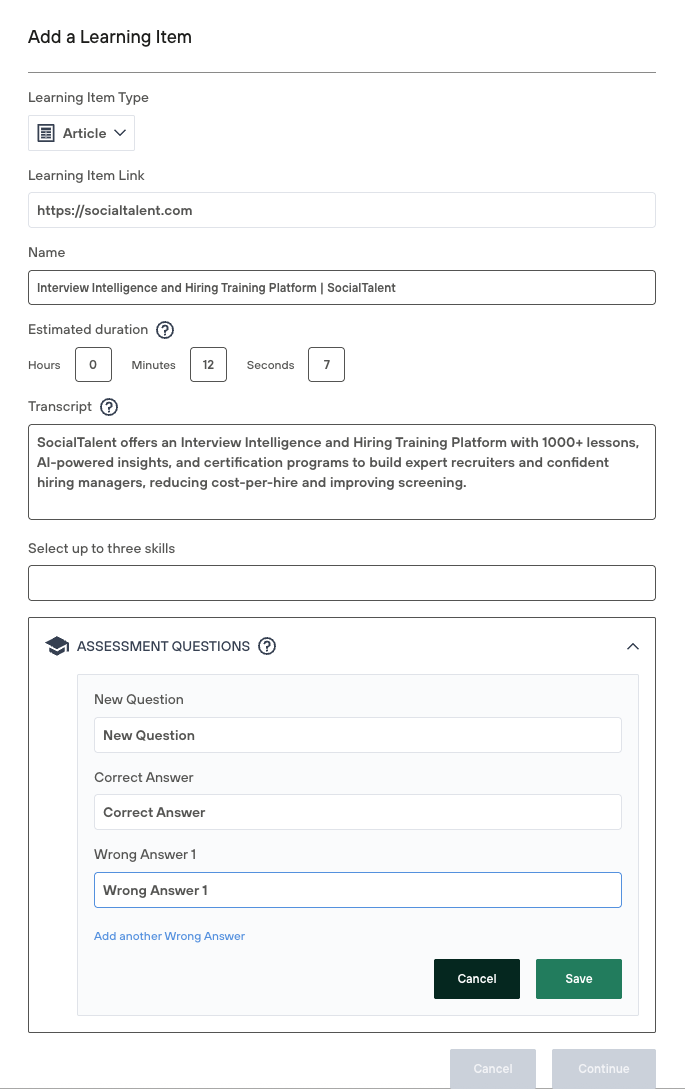
Add Questions to the Pack – In this section, you can add questions that will be part of the quiz. The questions can be true/false type.
Save and Add Questions – After adding all the questions, click "Continue" until you reach the step of publishing the Learning Item or adding it to the course.

Step 4: Configuring the Quiz in the Course
After adding the question pack to the Learning Item, go to the course to configure the quiz:
Go to the Details Section in the Course – Select the course to which you have assigned the Learning Item and go to the "Details" section.
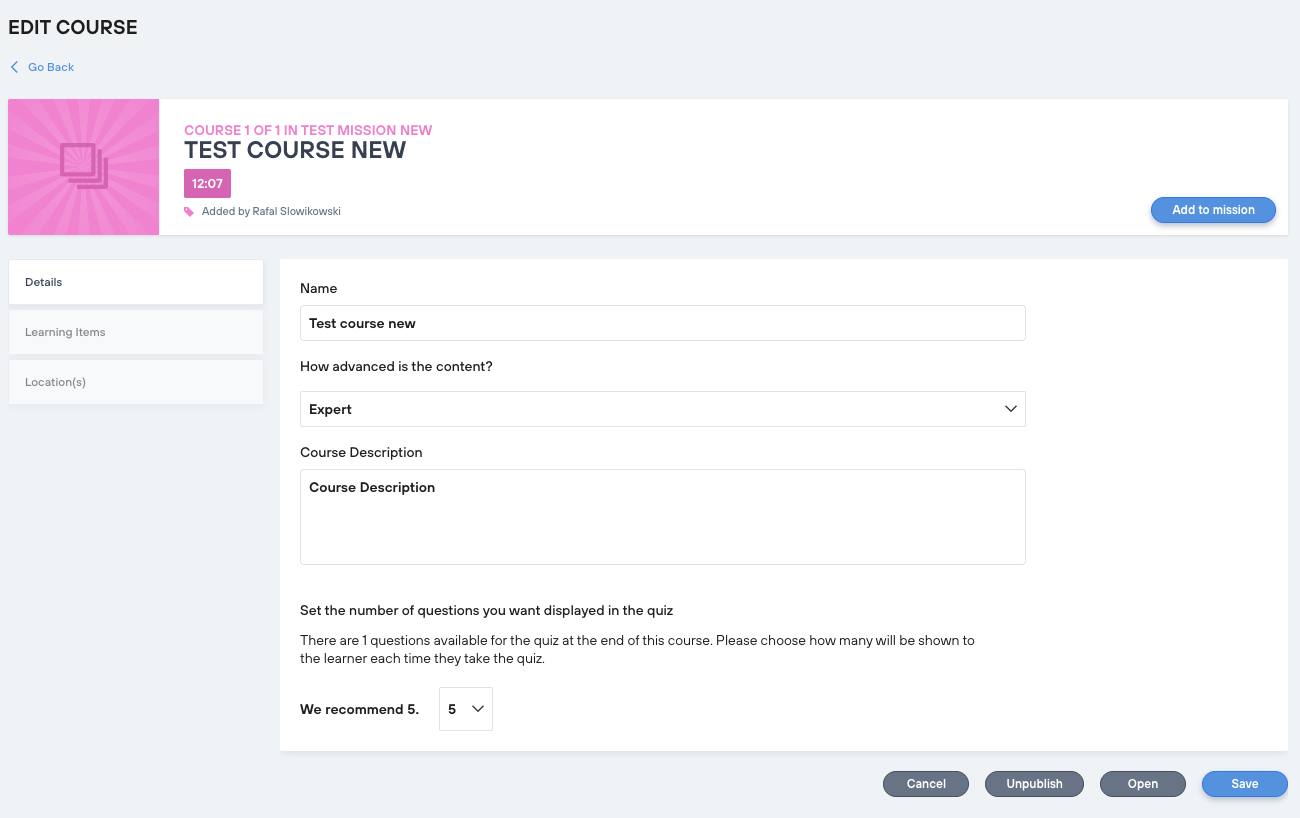
Specify the Number of Questions in the Quiz – In this section, you'll find settings related to the quiz. The system will automatically detect how many questions have been prepared. You can specify how many questions will be shown to each participant each time they take the quiz.
We recommend selecting 5 questions, but this number can be increased up to 50.
It's important to prepare more than 5 questions so that the system can shuffle them, increasing the quiz's variety.
Save Changes – After configuring the quiz, click "Save" and save the changes to the course.
Step 5: Publishing and Testing
The final step is to publish and test the course:
Add the Mission to the Learning Path - Users cannot search for it in the Explore tab if the mission is not linked to the Learning Path.
Add the Course to a Mission – If the course is not yet assigned to a mission, add it to the appropriate place.
Publish the Course – Ensure that the course is published and available to users.
Test the Quiz – It is recommended to test the quiz to ensure that all questions display correctly and that the system works as expected.

Your quiz is now ready! You can always adjust questions to best support the educational processes within your organization.