
Step-by-step guide
This article explains how to create a role in Interview Intelligence. Roles define what you are hiring for and are used to generate interview plans.
What is a role?
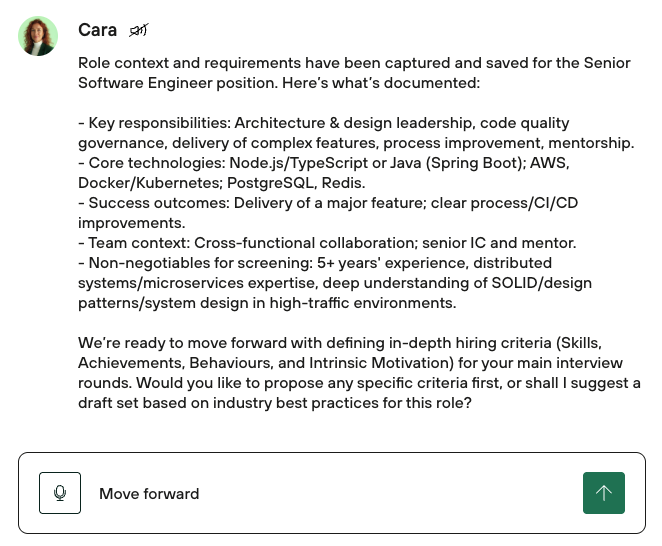
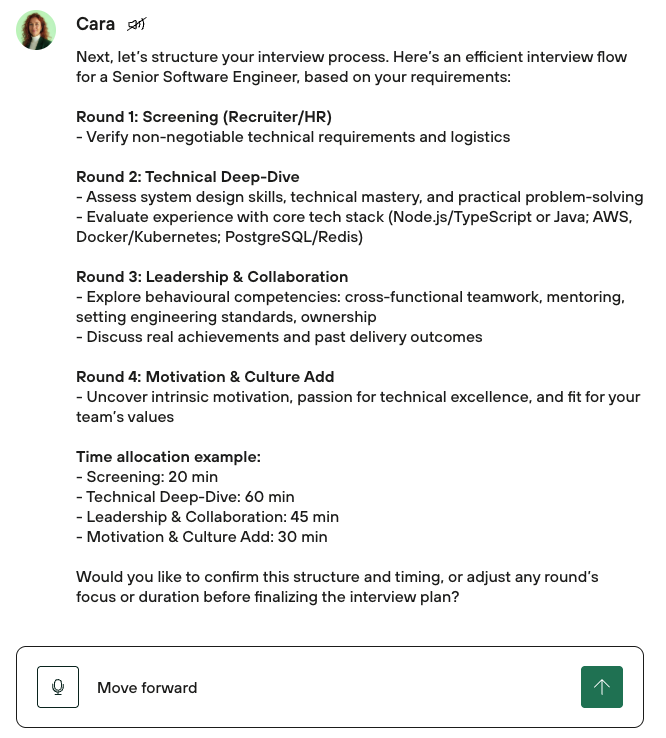
A role represents the position you are hiring for. It provides the context that the AI uses to generate interview stages, questions, and evaluation criteria.
Each role includes:
-
a role title
-
a role description
-
required skills and competencies
You must create a role before generating an interview plan.
How to create Roles
Click Hire icon
-
In the right-hand navigation, select the “New role +” button.
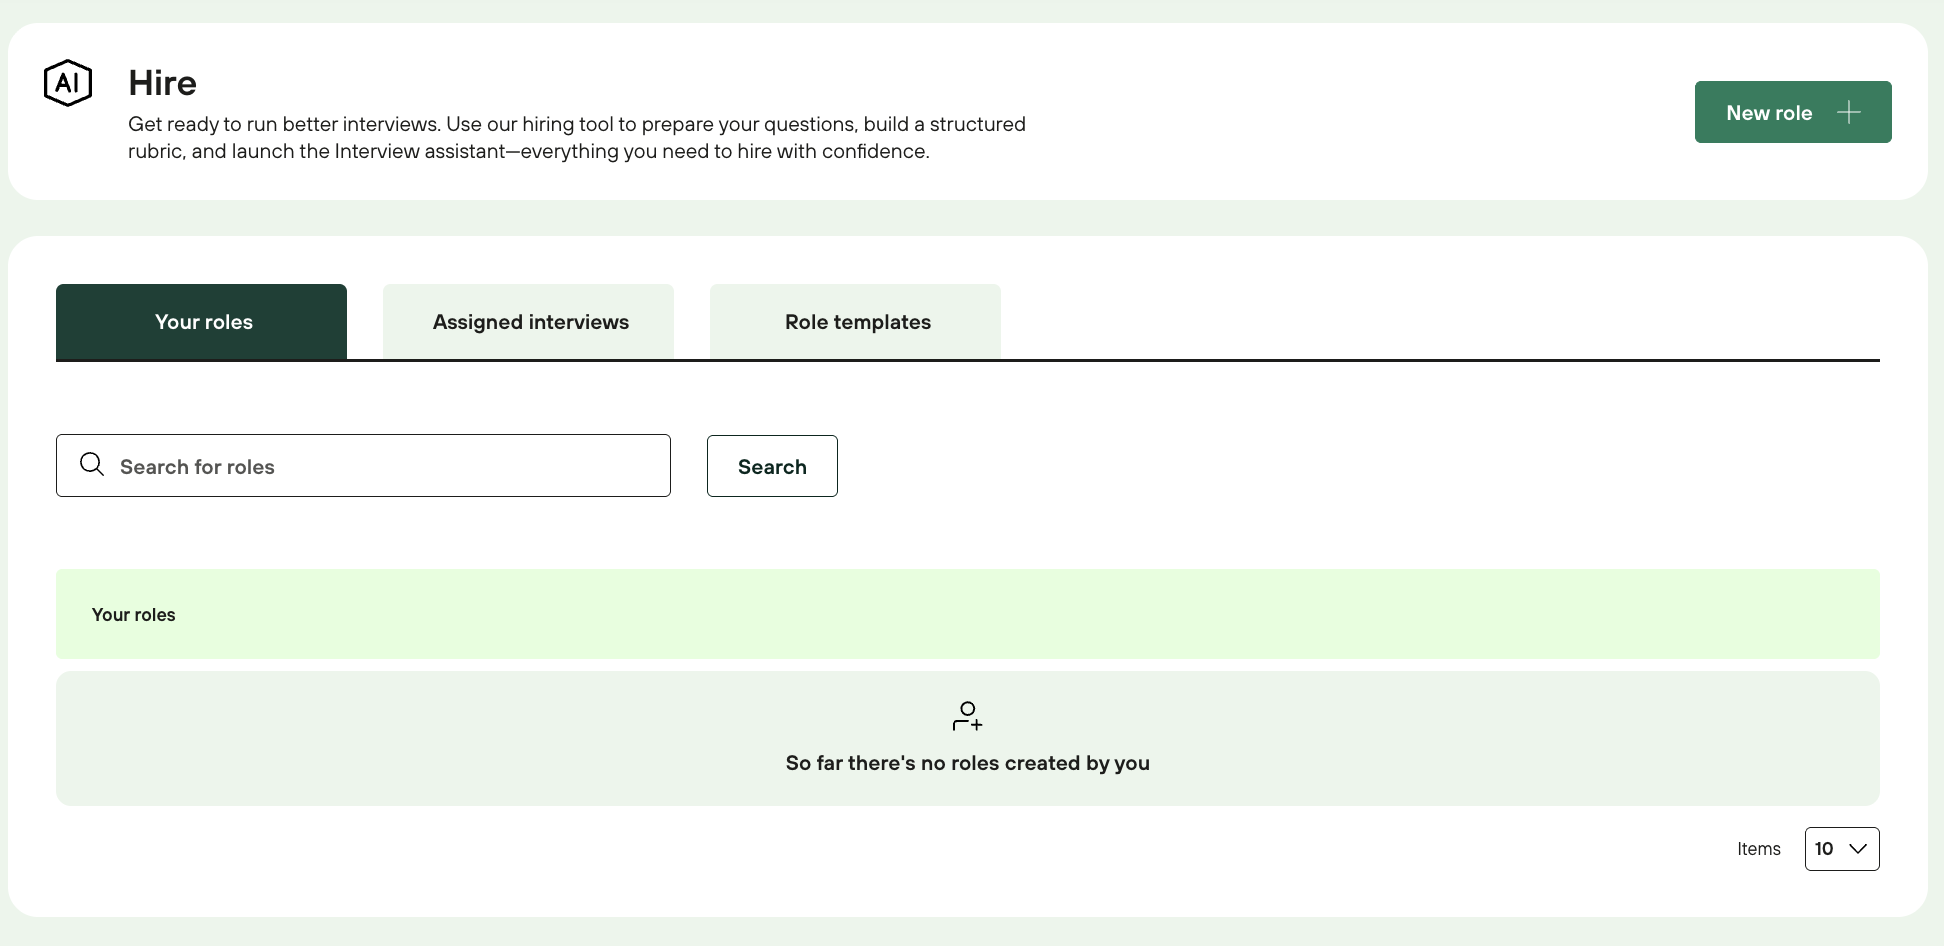
Create a role
Follow these steps to create a new role.
Step 1: Enter the role title
-
Add a clear, recognisable role title
-
Use the same naming convention used internally (for example: Senior Software Engineer)
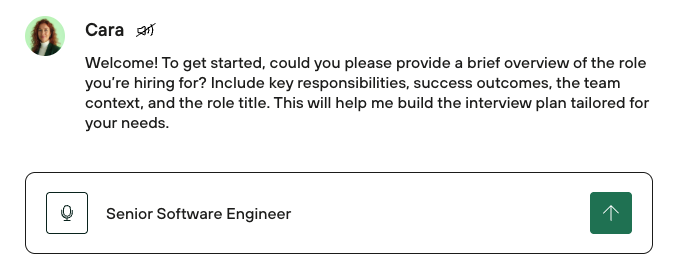
Step 2: Add the role description
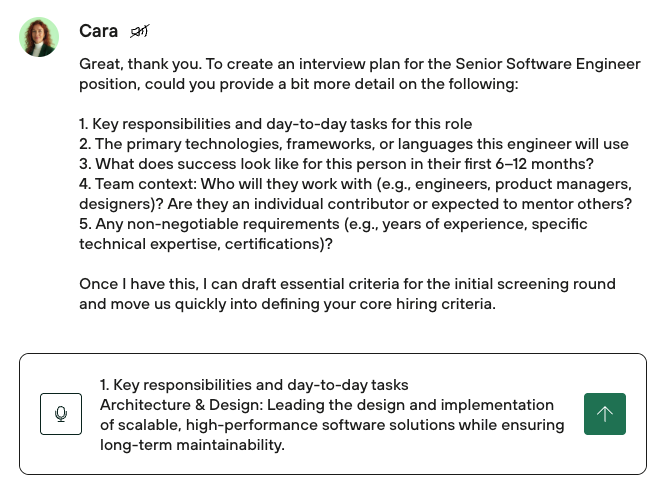
Provide a short but clear description of the role. This should include:
-
key responsibilities
-
seniority level
-
team or business context
The role description directly impacts the quality of the interview plan.
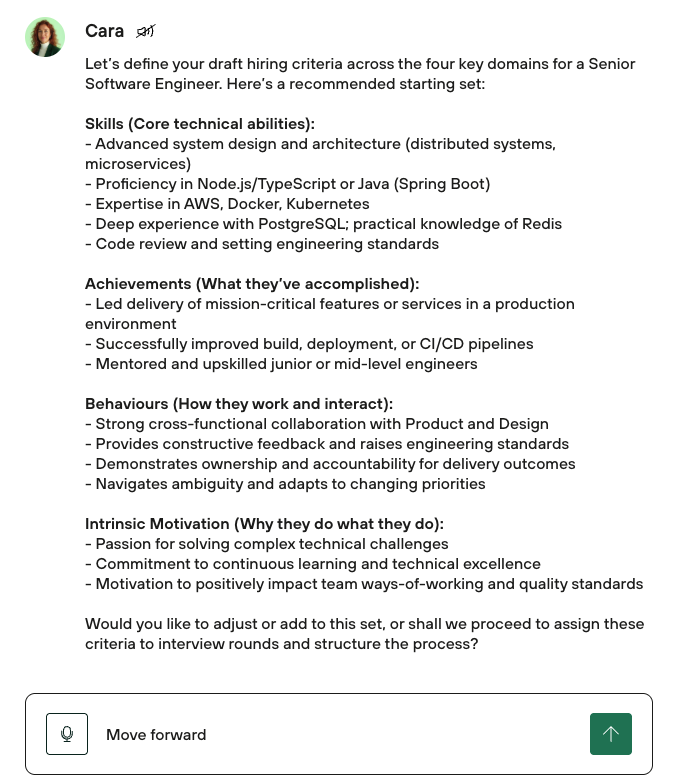
Step 3: Review required skills
Based on the role information, required skills and competencies are suggested automatically.
You can:
-
review the suggested skills
-
add or remove skills if needed
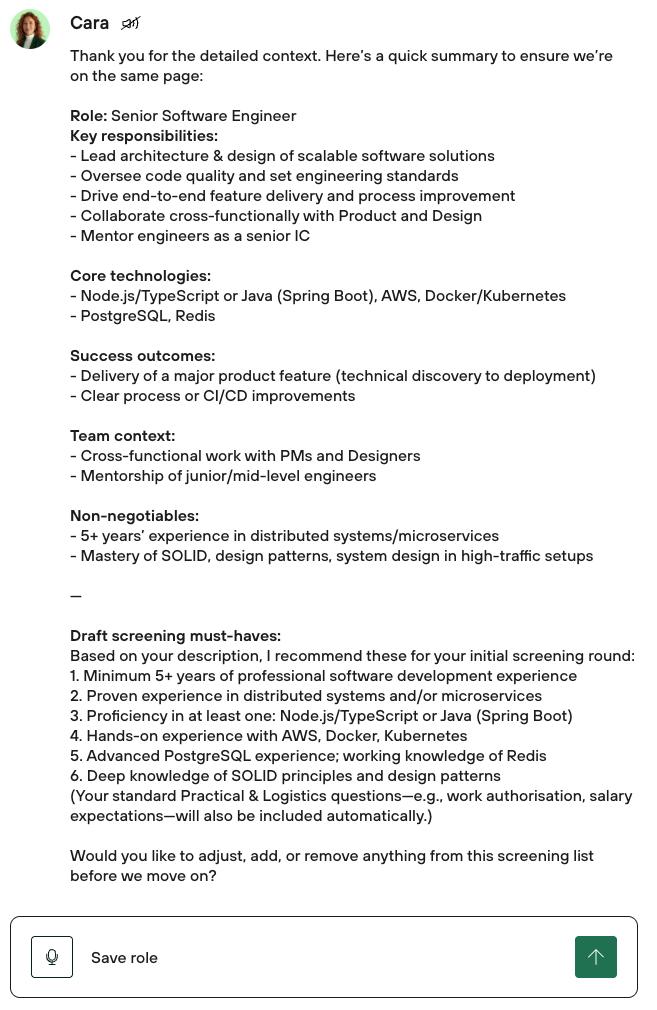
Step 4: Save the role
Once all information is complete:
-
Select Save role
-
Confirm the role is created
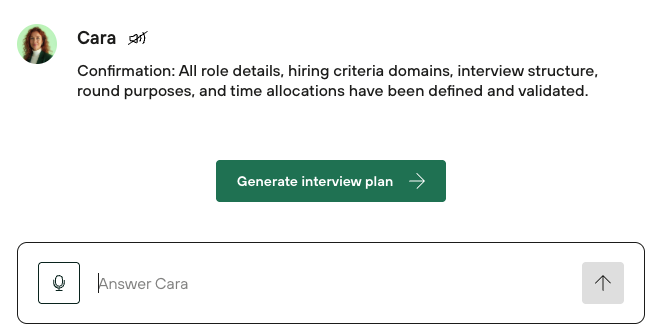
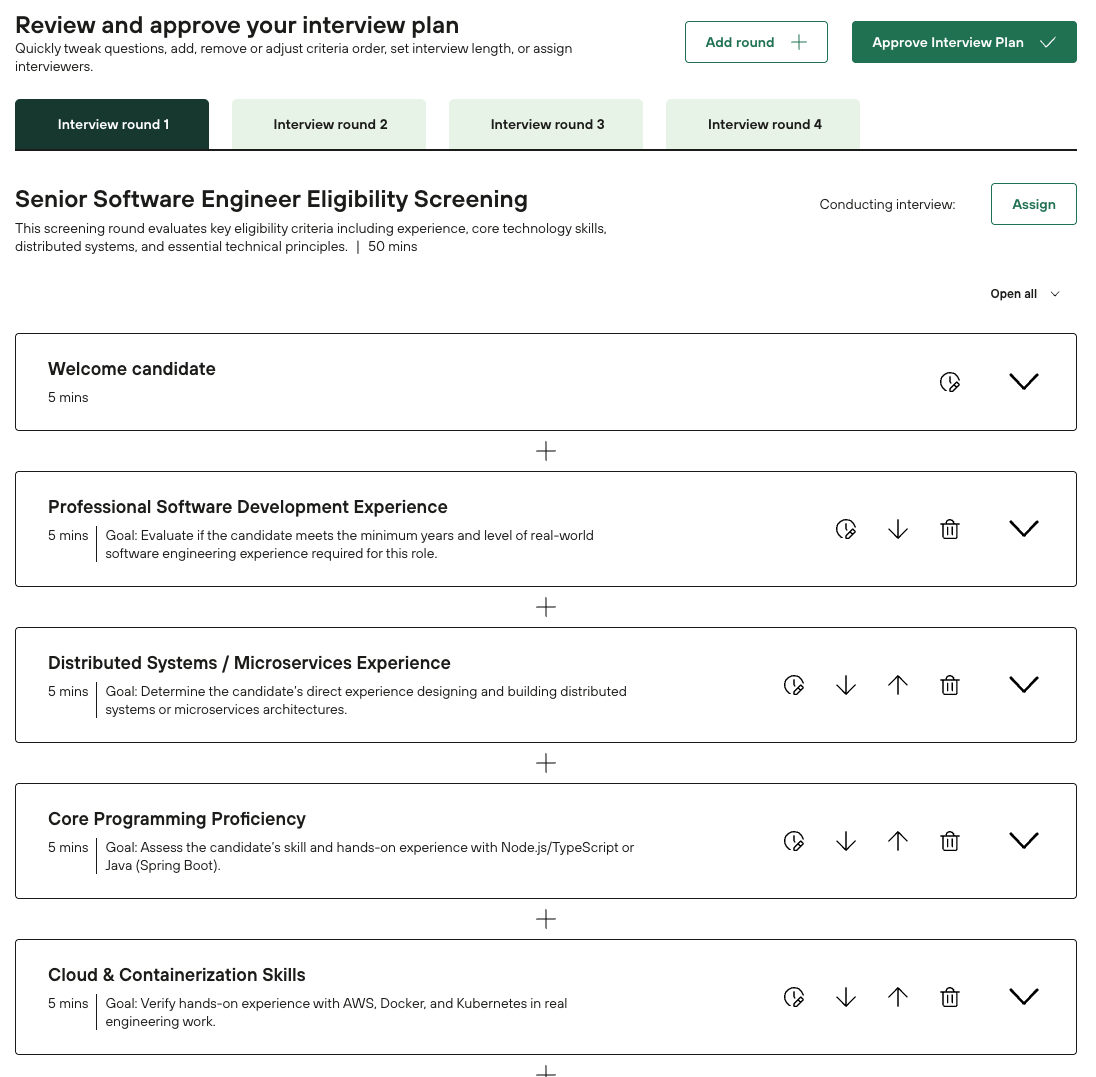
The role is now available to use when generating an interview plan.
What happens next
After creating a role, you can:
-
generate an interview plan
-
reuse the role for future interviews
-
update the role if requirements change
Roles help ensure interview plans are consistent and aligned to hiring needs.
Tips for best results
-
Use clear, specific role descriptions
-
Avoid overly generic responsibilities
-
Keep skills aligned to what will be assessed in interviews
This helps the AI generate more relevant interview questions and criteria.